About
The NodeGraphBuddy is a series of python scripts designed to make working in the Node Graph (DAG) quicker and easier. It focuses mostly on moving, aligning, distributing, mirroring and scaling nodes, but has many other fun features as well!
Download the BuddySystem plugin from Nukepedia to get all the scripts on this page, as well as the production tested Buddy Tools!
Links
Adjust Nodes
Below are links to all the individual docs for all the NodeGraphBuddy python modules
Move & Scale Nodes
Create Nodes
Utilities
Fun
Info
Setup / Installation
Install
For Personal Use
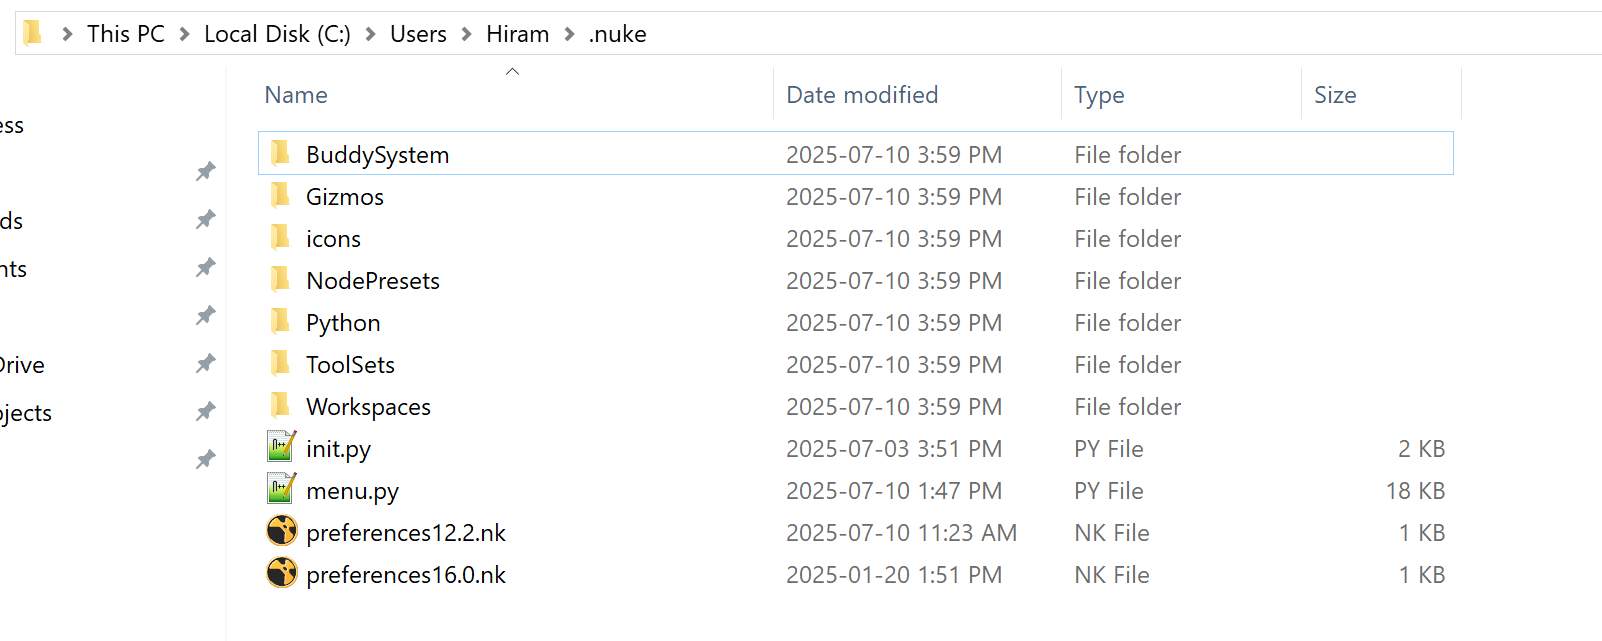
1) Download, extract and place the entire BuddySystem folder in your .nuke directory. This folder may be hidden, you can use the view options of your OS to unhide it
import nuke

nuke.pluginAddPath('./BuddySystem')
For Pipeline Use
Always speak with your studios pipeline support staff before trying to install anything. Every studio is different, but you’ll likely need to ask them to place the file into a central tool repository so everyone can access it
Modifying Hotkeys
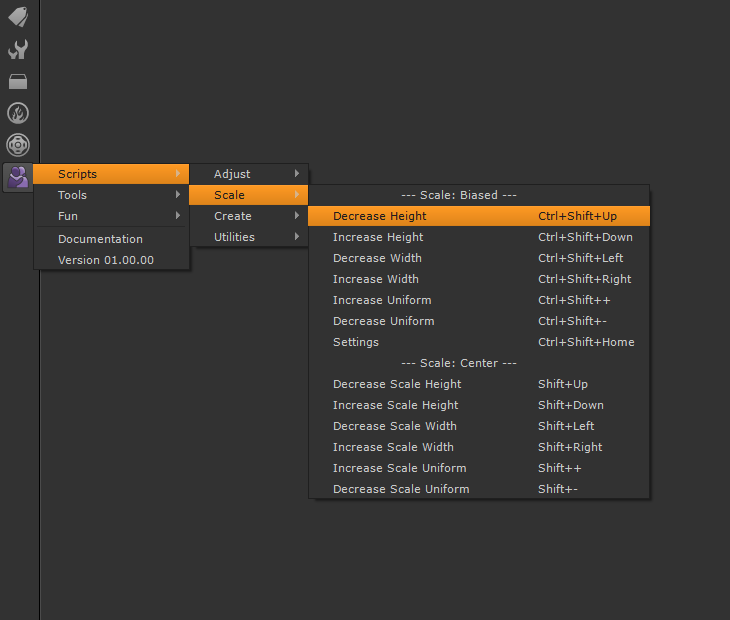
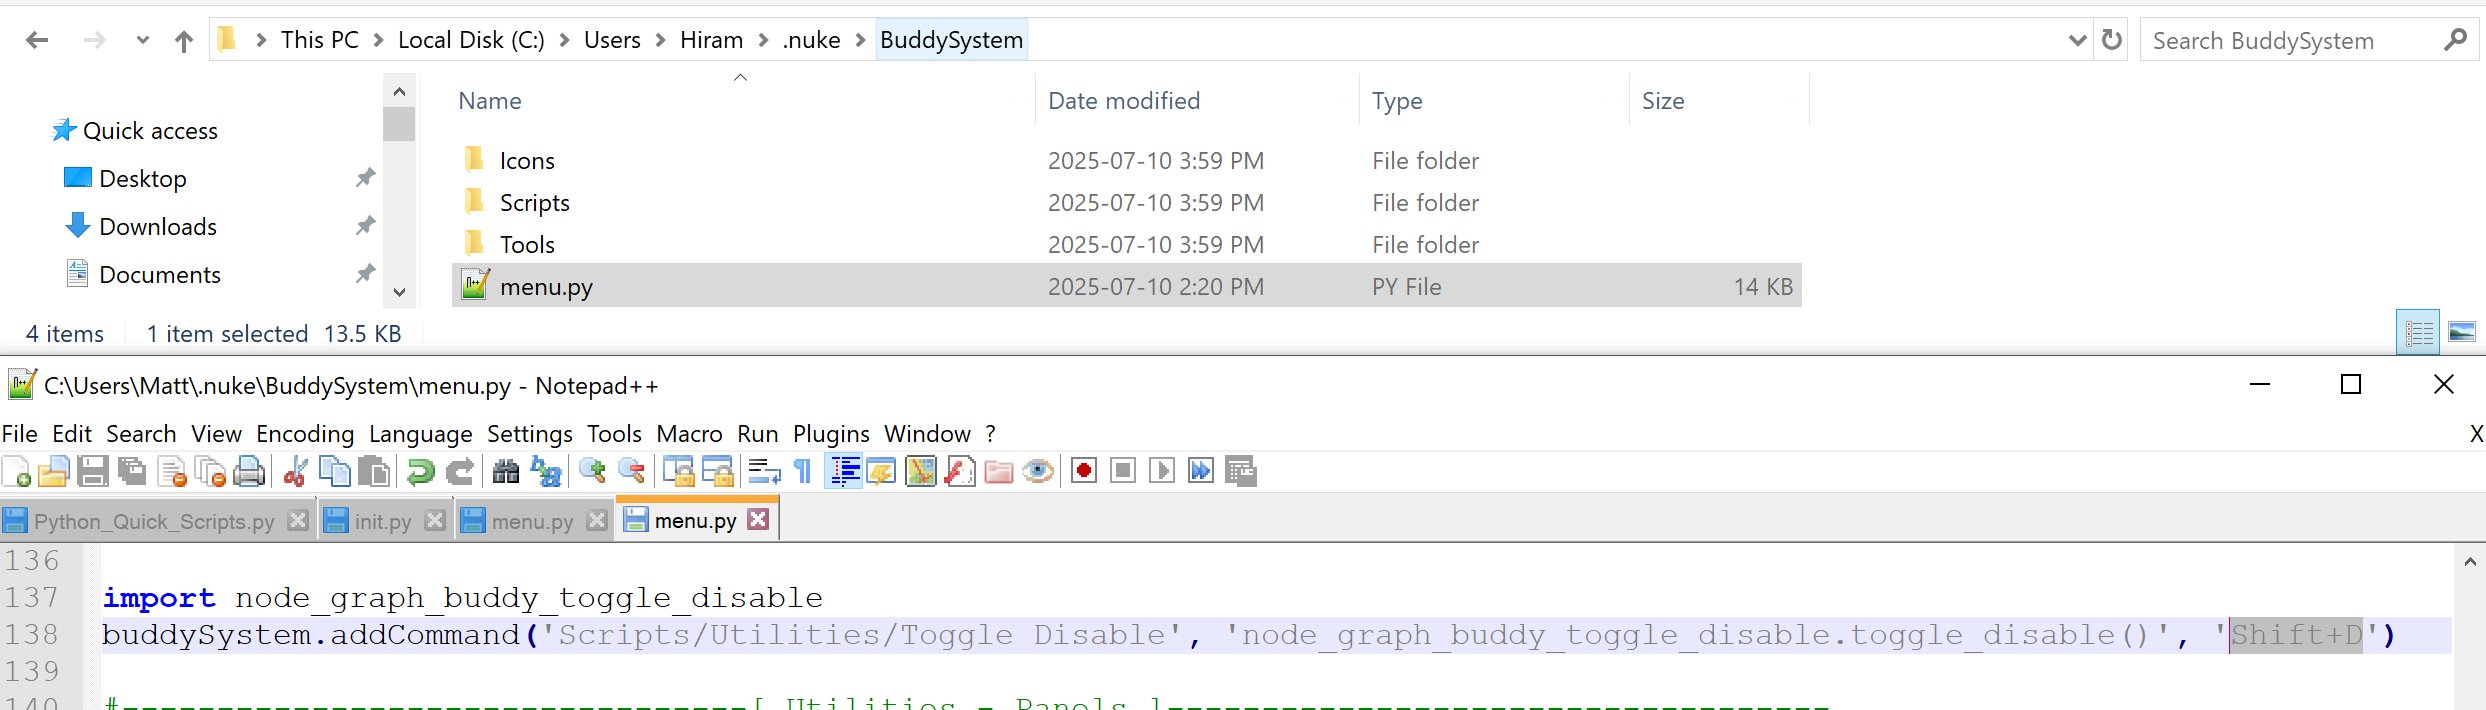
If you don’t like the default hotkeys, or they conflict with ones you already have, you can modify them in the BuddySystems menu.py file. Look for the hotkeys near the end of each buddySystem.addCommand() line
Removing Scripts
If you already have a similar script, or don’t need one of them, you can comment that part out in the BuddySystems menu.py file.

Version History
Versions
About
NodeGraphBuddy is a collection of python scripts and hotkeys tied to the overall BuddySystem plugin package. This means that if one or more of these scripts changes, or new ones are added, a new version of the BuddySystem will be released.
You can find the BuddySystem version history on the main BuddySystem page, as well as the release notes
You can find the version history for each NodeGraphBuddy python script at the bottom of their respective docs page
Development Goals
To-Do
Below are some of the things I still would like to do with the tool, if time permits. If there is something you think would be a nice addition, feel free to reach out!
Add more scripts
Add more tools
Add more fun
Contributors
Thanks!
Below are some of the people who helped develop this tool through direct support or indirectly via online resources
Mark Rodziewicz
Sheldon Lisoy
Adam Dent
Chris Fourney
FAQ / Bug Reporter
Frequently Asked Questions
-
Yes!
In the BuddySystem’s unique menu.py file you will find the current hotkeys near the end of each buddySystem.addCommand() line.
If you followed the install directions above that file will be in this directory C:\Users\Hiram\.nuke\BuddySystem\menu.py
Feel free to change them, although I spent a lot of time trying to pick hotkeys that made sense, and don’t conflict with any of the defaults
-
Yes!
In the BuddySystem’s unique menu.py file you will find all the scripts neatly organized the same way they are in the nuke toolbar menu
If you followed the install directions above that file will be in this directory C:\Users\Hiram\.nuke\BuddySystem\menu.py
Feel free to comment out any scripts you don’t require
-
Unless you prefer an older version of the tools, I would remove previous installs, and use the ones packaged with the BuddySystem plugin. They will be more up to date, and will be easier to load into nuke without having to make custom toolsets and hotkeys for each
-
The buddy tools use python scripts to dynamically update their appearance and sometimes internal nodes based on user input, and this doesn’t work well with the gizmo format. It’s highly recommended to keep them as grizmos (grouped gizmos) nodes. This modified format is how they are packaged with the BuddySystem, and allows you to TAB create the buddy tools like a gizmo would, while still keeping the unique group features required to function as they do.
-
Good Question!
NodeGraphBuddy is a series of python modules designed to help with working in the Node Graph (DAG) specifically. There could also be ViewerBuddy for the viewer, or CurveEditorBuddy modules down the road…
The BuddySystem on the other hand is the glue that binds all the Buddy tools, Buddy scripts, Hotkeys and other features together, into one easy to install/use plugin package
-
All tools, scripts and features supported in Nuke versions 11.0 - 16.0
Due to major changes in Nuke, Python and PySide some of the panel based scripts won’t work in Nuke versions 10.0 or earlier
Report A Bug
For issues/bugs please provide the following information